

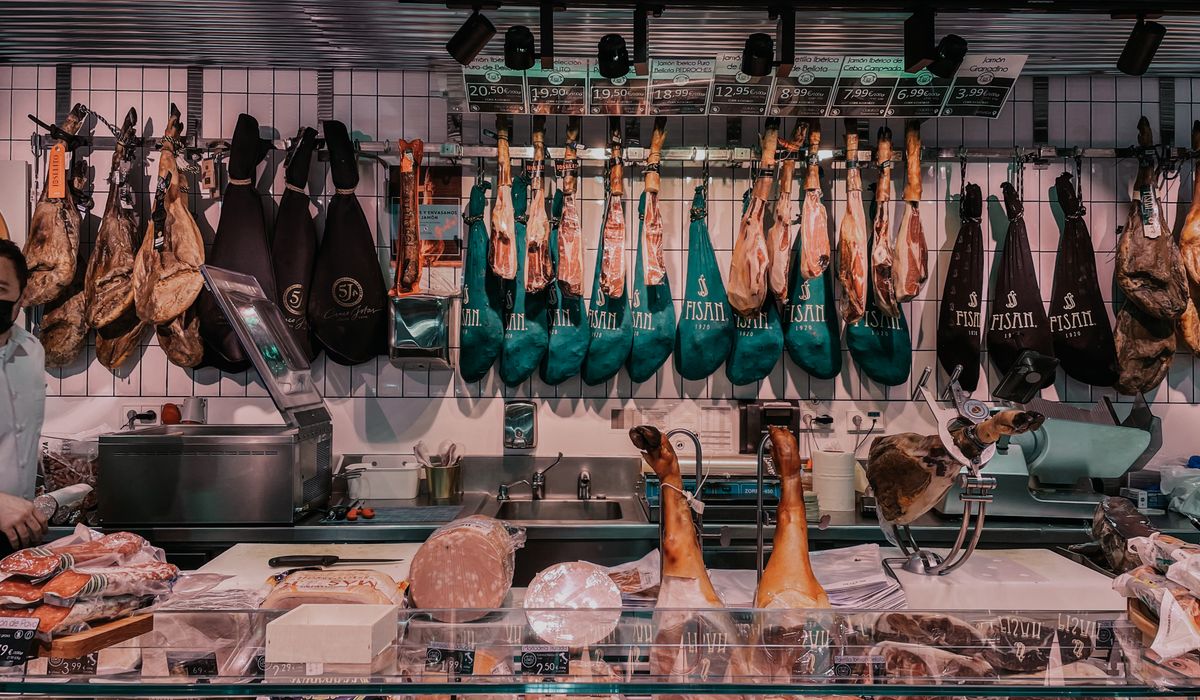
Dry Ageing Beef at Home: The Essentials
Dry ageing is a traditional craft that concentrates flavour and tenderises beef. As moisture evaporates, natural enzymes break down connective tissue, resulting in a nutty, beefy taste and a butter-soft texture. While your local butcher can age beef expertly, doing it at home is rewarding if you understand the risks. The goal is to create a controlled environment where beneficial enzymes work while harmful bacteria are kept at bay. This guide walks you through the practical steps for safe home dry ageing, from fridge setup to spotting spoilage.
Setting Up Your Fridge for Dry Ageing
Your everyday fridge is not ideal. It is opened frequently, contains other foods, and often runs at higher humidity. For safe dry ageing, you need a dedicated fridge or a clearly separated zone. Aim for a temperature between 1°C and 3°C (34–37°F). Anything above 4°C risks rapid bacterial growth; below 0°C freezes the meat and halts ageing.
Humidity should be around 75–85%. Too dry and the meat forms a thick crust before enzymes can work; too humid and mould and bacteria thrive. A small battery-powered hygrometer helps you monitor both temperature and humidity. Place it near the meat, not on the fridge door.
Airflow is non-negotiable. Stand the beef on a wire rack set over a tray. This allows air to circulate around all sides. Do not wrap the meat in plastic or place it in a sealed container. A small USB fan on a low setting can improve circulation, but avoid blowing directly onto the meat, which can dry it unevenly.
Choosing and Preparing the Right Cut
Not every cut suits dry ageing. Choose a thick, well-marbled primal or sub-primal: ribeye, sirloin, striploin, or a whole rump. Avoid thin steaks or lean cuts, which dry out before developing flavour. Buy from a trusted butcher and ask for a piece that has been aged for at least a few days already, or freshly cut and dry.
Before ageing, pat the meat dry with kitchen paper. Do not wash it—washing spreads bacteria. Trim any loose fat or ragged edges, but leave the fat cap intact; it protects the meat and adds flavour. If you are ageing multiple pieces, keep them separate so air reaches every surface.
- Size: At least 2 kg (4.5 lb) for a primal cut; smaller pieces dry out too quickly.
- Surface: Dry, not tacky. If it feels slimy, do not age it.
- Fat: A good layer of fat acts as a natural shield.
Managing Airflow and Humidity
Airflow prevents spoilage by stopping moisture from pooling and creating anaerobic pockets where dangerous bacteria can grow. Set your wire rack so the meat is at least 5 cm from the fridge walls and other items. If using a dedicated fridge, fill empty space with clean, dry containers to reduce air volume and stabilise humidity. Avoid placing the meat near the fridge's fan vent, which can cause case hardening—a tough, dry exterior that traps moisture inside and leads to off flavours.
If humidity drops below 70%, place a small bowl of clean water in the fridge. If it rises above 90%, open the door briefly or add a tray of salt to absorb moisture. Check daily at first, then every couple of days.
Timing, Turning, and Weight Loss
Dry ageing takes time. A minimum of 14 days gives noticeable tenderness; 21–28 days deepens flavour; 45–60 days produces intense, nutty notes. For home setups, 21–35 days is a safe sweet spot. Longer ageing requires more precise control and increases risk of spoilage.
Turn the meat every 3–4 days. This prevents one side from drying too much and helps you inspect for problems. You will notice the exterior forming a dark, dry crust (the pellicle) and the meat shrinking. Expect 15–30% weight loss over 30 days. Weigh the meat at the start and every week to track progress. If weight loss stalls or the meat feels warm, check your fridge temperature immediately.
Hygiene, Spoilage Checks, and Cooking
Cleanliness is paramount. Wash your hands before and after handling the meat. Use separate tongs or gloves. Clean the fridge shelves and racks with hot soapy water before starting. Do not let raw meat drip onto other foods.
Inspect the beef daily. A healthy pellicle is dry, firm, and dark red to brown. White mould (like Penicillium) can be safe and is often trimmed away, but green, black, or fuzzy mould, slime, or a sour, ammonia-like smell means discard immediately. If the meat feels sticky or has a putrid odour, do not taste it—throw it away. When in doubt, bin it.
- Safe signs: Dry crust, firm texture, nutty aroma, gradual weight loss.
- Unsafe signs: Slimy surface, green/black mould, sour or faecal smell, warm spots.
Once aged to your liking, remove the meat from the fridge. Trim away the hard pellicle and any mould with a sharp knife. You will lose some yield, but the reward is intense flavour. Cut into steaks or roast as a whole joint. Because dry-aged beef is drier, cook it slightly lower and slower than fresh beef to avoid toughening. Bring it to room temperature for 30 minutes before cooking. Season simply with sea salt and cracked black pepper. Sear in a hot pan or on a barbecue, then rest for at least 5 minutes per 2.5 cm of thickness. The result is a deeply savoury, tender beef that honours the craft—and your patience.





John Doe
14 January, 2022Having no content in post should have adverse..
Chauffina Carr
10 April, 2022We use these tests all time! Killer stuff!
Jim Séchen
16 July, 2022Thanks for all the comments, everyone!